
The Room Adventure: Additional Features: HTML Version
Asking the Player for a Name
Difficulty: ★★★☆☆
You can have the player include their name in the game. Then add some references to it throughout. This can help bring a player into the experience.
What we need to do
- We need to have a place for the player to get a name.
- We need to update the game text to make use of the name.
We need to give a way for the player to include their name, and in HTML, that's not as easy as using the prompt command. You could use it, though. It would give your game a popup box again. If you're okay with that, just follow the steps for the text version.
We essentially have two options, an <input> tag or a <textarea> tag. Formally
speaking, an <input> tag is part of a larger set of tags called a <form>. It's
supposed to be inside a <form> tag, but we can use it without doing that.
In either case, we can limit the number characters and control the size of each element. We will need a place to put it on the screen so the player can type it in.
Again, there are more official ways of coding these in, but we're going to create a text string and use that, like we've done for our navigation and inventory buttons.
Delete the text version if you inserted it
If you installed the text version of this feature using prompt, then you need to delete it first. If you didn't put it in, then move on to the next step.
Jump over to the text version and take out code from step 2. Here's a shortcut link.
With that code gone, you're ready to install the HTML version.
Go into startGame()
Unless we really want to change things up, then we can't get the player's name before the game information is displayed. Let's keep this simple. We'll explain the game and have a place there for the player to type in a name.
But because of that, we need to change part of the starting text first.
Step 1
Let's make the welcome more generic by taking out the player's name here. Otherwise, it will say Lica, or whatever you put in the player's name property.
- //Let's delete the first line and update the second
- text += "You are " + player.name; //delete this line
- //and make it something like this
- text += "You are in a house";
- text += " and you are in a house"; //already there
It's a subtle change, but it's needed.
Step 2
Let's tell the player that they can type in their name. We'll use our display.broken() method for this.
You still need to be inside your startGame function. But now, go to the very end of the function, right before the closing brace. Then add something like this.
- function startGame()
- {
- //all startGame code is above here, but this new code goes before the closing brace
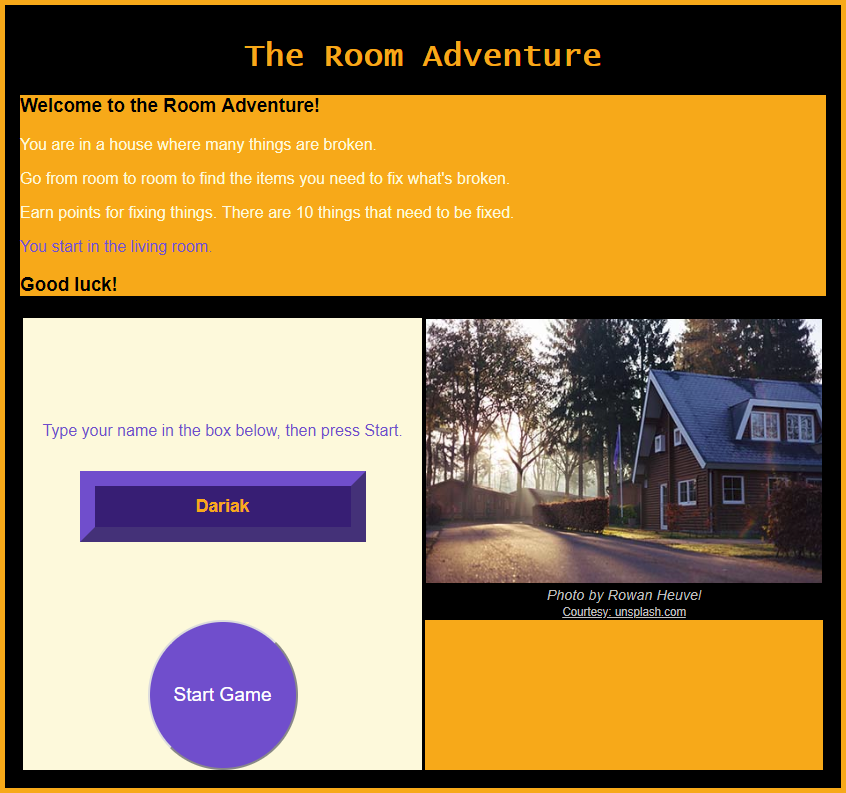
- display.broken("Type your name in the box below, then press Start Game.");
- } //← this brace was already there
That's just one line of code, but we are going to add more in the next step, right below that.
Step 3
Now we need to give the player a place to type their name in. Now we have to choose between the
<input> tag and the <textarea> tag. I like the look of the
<input> box, so I'm using that.
You're still inside startGame at the bottom of the function where you just added the code from the last step.
We'll create a text string here to make the element and then we'll display it.
- var nameBox = "<input id='playerName' value='" + player.name + "'>";
- display.found(nameBox);
Step 4
Next we need to capture the name when the player clicks the start button. This means we need to make the start button call a new function we're going to create and then that new function will actually start the game.
Here's one more thing to do inside of the startGame function.
- //Find this line
- var button = "<button id='start' onclick='moveToRoom()'>Start Game</button>";
- //change moveToRoom to getName
- var button = "<button id='start' onclick='getName()'>Start Game</button>";
Step 5
And now let's make that new function. Finally, move out of startGame so we can make our new function. Remember, the new function can go anywhere, but don't put it inside any other sets of braces in the code.
- function getName()
- {
- var nameBox = document.getElementById("playerName");
- if (nameBox && nameBox.value !== "")
- {
- player.name = nameBox.value
- }
- moveToRoom();
- }
Code Breakdown
The line with var nameBox should be familiar. That's how we get access to
an element on a webpage.
This line is being cautious: if (nameBox && nameBox.value !== "")
What we're doing here is making sure the input box exists by first just checking for nameBox. Well, it
ought to exist because we created it in the function right before this! But this is a protection for later. What if
you make some code changes and try to use the getName function at some other point?
This first check lets you use the default name from the player object and not cause an
error.
We also check to make sure the box wasn't empty with nameBox.value !== "". It shouldn't be empty because we
gave the box a starting value when we create it. But if the user deletes the name, then this will also go back to
using the default name. Now, if the user just presses the space bar in the box, well, we're not going to control for
that here.
So, as long as the box exists and (&&) there is a value typed into the box, then we assign that as
the player's name. Whew.
Step 6
This step is optional, but why not take a minute and give the input box some style? If you want to do this, pop on over to your CSS file and add some style properties. Use whatever you want. Here's what I'm going with.
- #playerName {
- border: slateblue 15px outset;
- padding: 10px;
- background-color: #2f2475; /* dark slateblue */
- color: orange;
- font-size: 1.1em;
- font-weight: bold;
- text-align: center;
- }
Step 7
We've collected the player's name and now we should use it, right? We had to get rid of it in the startGame function because we didn't want to create another popup-type of situation. The only other place the name is used in our game by default is at the end.
So now would be a good time to go through other dialogue areas in the game and make use of the name!
Be careful of your syntax.
Don't add a name to the startGame function.
Remember to use our display object instead of any alerts
or such.
Syntax Samples
- player.name + ", how are you?";
- "That's a really cool hat, " + player.name + "!";
- "Code name: " + player.name;
Pay close attention to the starting and ending quotes in each example. You should see that player.name is never inside the quotes, even in the second example. There, the quotes
open, you have some text, then they close, and then the name is added in, then a new set of quotes opens,
with text, and then closes. It's a lot to look at, so take your time with it.
It's easy to cause a Syntax Error by forgetting the plus signs!
Update some other text strings
These are just suggestions. Change whatever you want!
- //inside showScore()
- alert(player.name + "'s Score: " + player.score);
- //inside showInventory()
- var text = "<h3>" + player.name + "'s Inventory</h3>";
Where else would you want to use the player's name?